

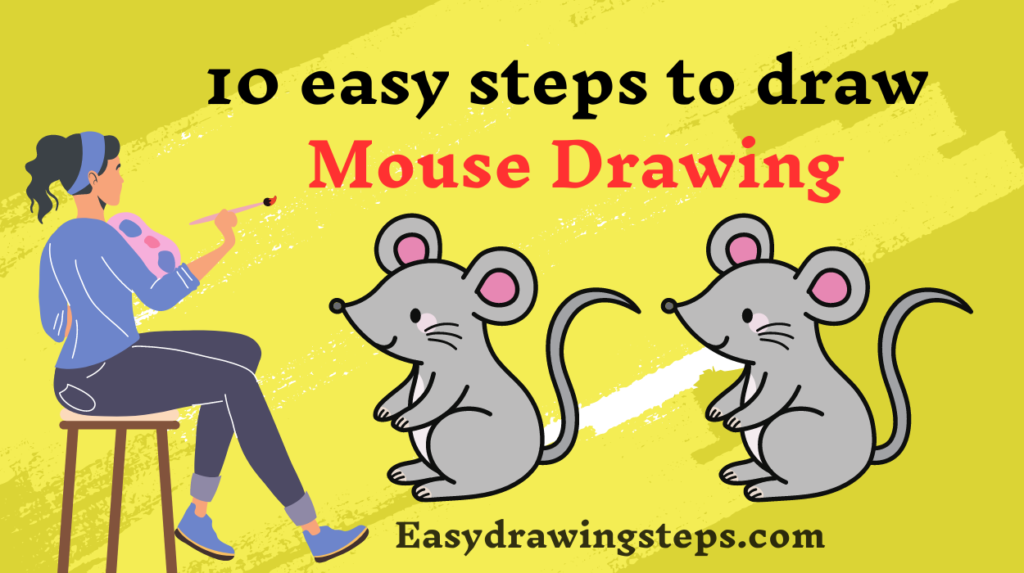
Mouse Drawing : Drawing a mouse can be a fun and simple activity for artists of all ages.
This guide will take you through ten easy steps to create a charming mouse drawing, whether you’re a beginner, a child, or just looking for a quick sketch project.
Step 1: Draw the Head of Mouse Drawing
Start by sketching a small circle for the mouse’s head. This will be the base for the facial features.
Also Read : 10 easy steps to draw Cheetah Drawing
Step 2: Outline the Body
Below the head, draw a larger oval for the body. Ensure this oval is slightly tilted to give the mouse a more dynamic posture.
Step 3: Add the Ears
Draw two large, round ears on top of the head. Mice have prominent ears, so make them relatively large compared to the head.
Also Read : 10 easy steps to draw Telegram Logo Drawing
Step 4: Sketch the Eyes and Nose
Inside the head circle, draw two small circles for the eyes. Below the eyes, add a tiny triangle or oval for the nose.
Step 5: Draw the Whiskers
From the sides of the nose, draw several straight lines extending outward for the whiskers. These lines should be thin and evenly spaced.
Also Read : 10 easy steps to draw TikTok Logo Drawing
Step 6: Add the Mouth
Below the nose, draw a small curved line for the mouth. You can add a tiny line extending downward from the mouth to give it a bit more detail.
Step 7: Draw the Legs
Extend four short lines from the bottom of the body for the legs. The front legs should be slightly shorter and angled forward, while the back legs should be longer and angled backward.
Also Read : 10 easy steps to draw Dolphin Drawing
Step 8: Sketch the Paws
At the end of each leg, draw small ovals for the paws. Add tiny lines inside the ovals to indicate the toes.
Step 9: Draw the Tail
Extend a long, curved line from the rear of the body for the tail. Mice have long, thin tails, so make this line smooth and slightly curved.
Also Read : 10 easy steps to draw Baby Drawing
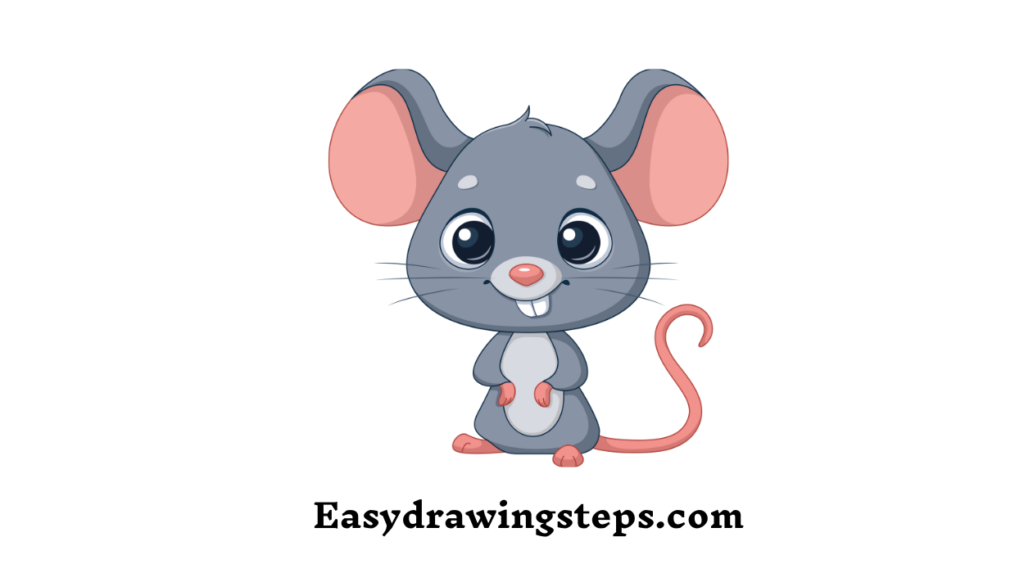
Step 10: Final Touches
Go over your drawing to clean up any rough lines and add final details, such as fur texture and shading. You can also add a small tuft of fur at the end of the tail for extra detail.
Understanding the Concepts
Mouse Drawing Easy: This guide emphasizes simplicity, ensuring that drawing a mouse is straightforward and enjoyable. By breaking down the process into basic shapes and clear steps, anyone can achieve a cute mouse drawing without difficulty.
Mouse Drawing for Kids: This guide is designed with children in mind, making it accessible and fun for young artists. Using basic shapes and easy-to-follow instructions, kids can create their own mouse drawings, boosting their confidence and creativity.
Easy Mouse Drawing: Highlighting an uncomplicated approach, this method ensures that drawing a mouse is a hassle-free experience. By focusing on essential shapes and gradual detailing, the process becomes manageable for beginners and seasoned artists alike.
By following these ten easy steps and understanding these concepts, you can create a delightful mouse drawing that captures the charm and character of this small animal.
Whether you’re drawing for fun, as a learning exercise, or to improve your skills, this guide provides a clear path to success.
Enjoy the process and watch your mouse drawing come to life!
FAQ
How do I start drawing a mouse if I’m a complete beginner?
Start with simple shapes to form the basic structure of the mouse. Begin with a small circle for the head and a larger oval for the body. These basic shapes help you get the proportions right before adding more details like the ears, eyes, legs, and tail
What are some tips for drawing realistic fur on a mouse?
To draw realistic fur, use short, quick strokes with your pencil. Follow the natural direction of the fur, which generally grows outwards from the body. Layer the strokes to add depth and texture. Using different pencil pressures can help create variation in the fur’s appearance.
How can kids easily draw a mouse?
Kids can draw a mouse easily by breaking down the drawing into simple steps. Start with basic shapes like circles and ovals for the head and body. Add large round ears and simple lines for the legs and tail. Encourage kids to keep the shapes and lines simple and have fun with their drawing.
What materials are best for drawing a mouse?
The best materials for drawing a mouse include a pencil for sketching, an eraser for corrections, and paper. For adding details and texture, a set of fine-tipped markers or colored pencils can be useful. A good-quality sketchbook or drawing paper will provide a smooth surface for detailed work.
How do I draw the mouse’s facial features accurately?
To draw the mouse’s facial features accurately, start with guidelines to help with placement. Draw a vertical line down the center of the head circle and a horizontal line halfway down for the eye line. Place the eyes on the horizontal line, add a small nose at the bottom of the circle, and draw a curved line for the mouth below the nose. Make sure the eyes are evenly spaced and symmetrical.
3 thoughts on “10 easy steps to draw Mouse Drawing”