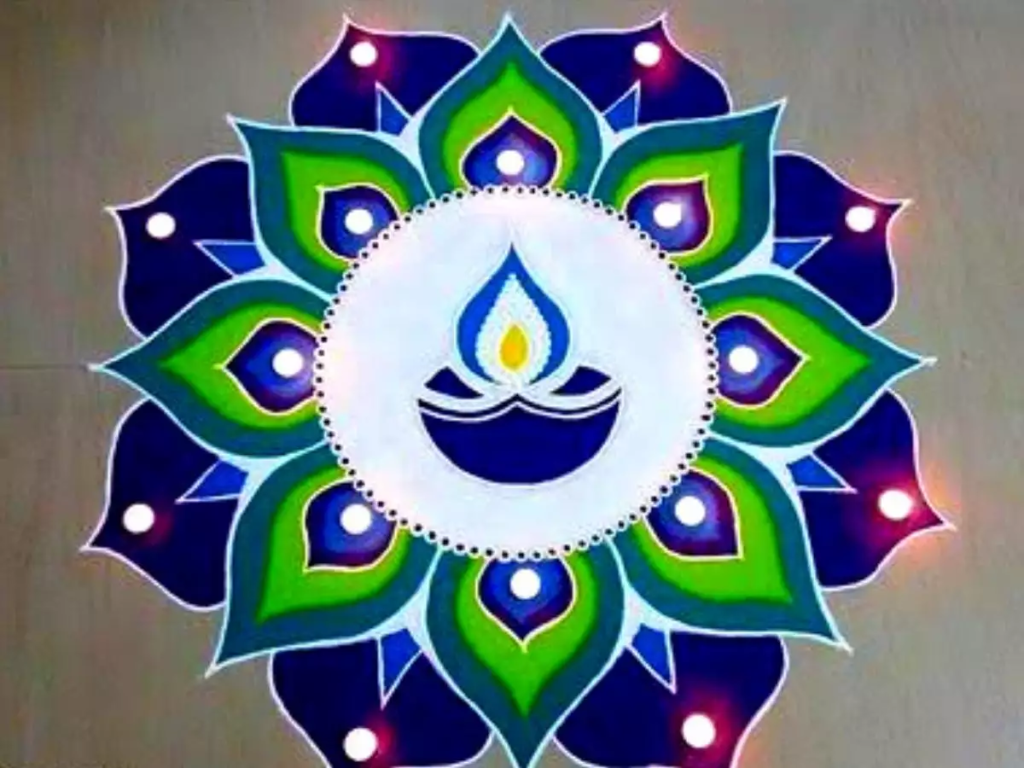
Rangoli design, an ancient Indian art form, is not just a beautiful decoration but a reflection of culture, creativity, and celebration.
Traditionally made during festivals and special occasions, rangoli adds color and vibrancy to homes and public spaces alike.
While intricate designs can seem daunting, creating a simple rangoli is an accessible and delightful endeavor, perfect for beginners and seasoned artists alike.
In this guide, we’ll explore how to craft your own easy and simple rangoli design, bringing joy and beauty to any setting.
Step 1: Choose Your Rangoli Design
- The first step in creating a simple rangoli is to choose your design. Opt for basic geometric shapes such as circles, squares, triangles, or simple floral patterns.
- Keeping it simple allows for ease of execution while still achieving stunning results. Don’t overthink it—let your creativity flow!

Step 2: Prepare Your Canvas
- Whether you’re working on the floor, ground, or a rangoli plate, ensure your canvas is clean and dry. Sweep away any debris or dust to create a smooth surface for your rangoli creation.
Step 3: Draw the Outline
- Using a piece of chalk, lightly outline your chosen design on the surface. This step is optional and depends on your comfort level.
- If you prefer, you can dive straight into the colorful creation without outlining.
Step 4: Start with the Base
- Begin by filling in your design with the base color. Traditionally, white is used for the base, but feel free to choose any color that resonates with you.
- Spread the base color evenly within the outlined design, creating a solid foundation for your rangoli.
Also Read : How to do Mehndi Design
Step 5: Add Colors
- Once the base is complete, it’s time to add colors! Use different colored powders to fill in various sections of your design.
- Experiment with contrasting colors to make your rangoli visually striking and captivating. Let your imagination run wild as you bring your design to life with vibrant hues.
Step 6: Detailing
- Add finer details to your rangoli design using contrasting colors or by outlining shapes with a different shade.
- Get creative with patterns such as dots, lines, or small motifs to enhance the intricacy of your creation.
- This is where your unique style and flair shine through, so don’t hold back!
Step 7: Final Touches
- Step back and admire your masterpiece. Make any final adjustments if needed, ensuring that every detail is just as you envisioned. Revel in the joy of your creation and the beauty it adds to its surroundings.
Step 8: Protect Your Rangoli
- If your rangoli is displayed outdoors, consider protecting it from wind or foot traffic by placing a border of flowers, leaves, or diyas (small oil lamps) around it. This not only adds a charming touch but also helps preserve your rangoli for longer enjoyment.
Rangoli making is a deeply rewarding experience that fosters creativity, mindfulness, and cultural appreciation. Whether you’re a novice or a seasoned artist, crafting a simple rangoli brings joy and beauty into your life and the lives of those around you. So gather your materials, unleash your imagination, and let the colors of rangoli brighten your world!


3 thoughts on “How to draw rangoli design easy simple”