Easy Peacock Drawing With Colour ; Drawing a peacock can be a delightful project, especially when incorporating vibrant colors. Whether you’re a beginner or looking to refine your skills, these ten easy steps will guide you through creating a stunning peacock drawing using colors.
Step 1: Draw Basic Shapes
Start by sketching the basic shapes that will form the foundation of your peacock. Draw a small circle for the head and a larger oval for the body. Connect these with a curved line for the neck. For the tail feathers, sketch elongated ovals extending from the back of the body. This step will help you get the proportions right before adding details.

Step 2: Refine the Head and Neck
Refine the head and neck by adding features like the beak and eyes. Draw a small triangular shape for the beak and two small circles for the eyes. Smooth out the neck lines to ensure they flow naturally from the body. This step is crucial for capturing the peacock’s elegant posture.
Also Read : 10 Steps to Draw Pencil Easy Peacock Drawing
Step 3: Outline the Body and Tail Feathers
Define the body and tail feathers with smooth, flowing lines. Ensure the tail feathers fan out gracefully from the base of the body. This step sets the stage for adding details and colors, so make sure the lines are clean and proportionate.
Step 4: Add Details to the Feathers
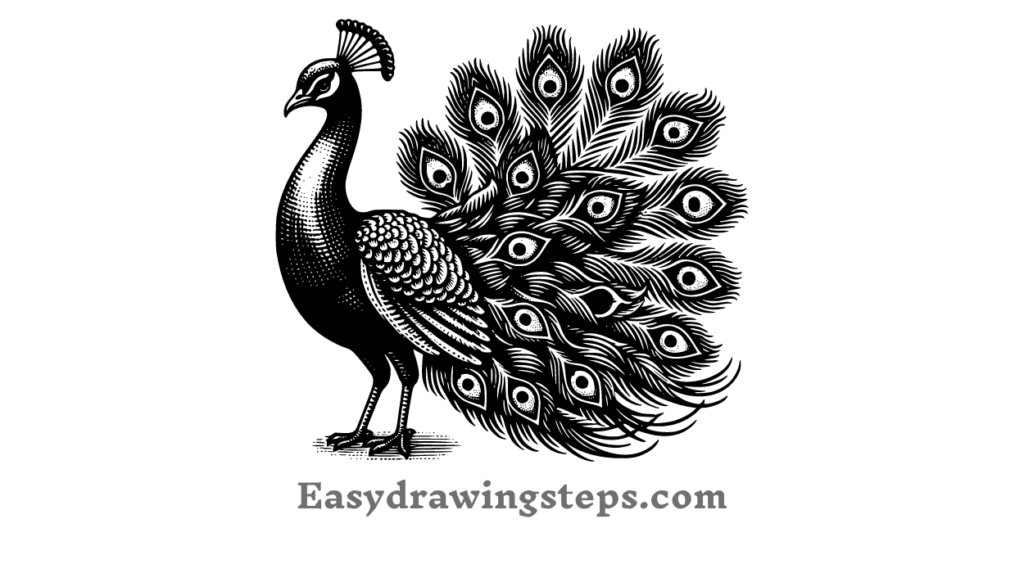
Detail the feathers by drawing individual feather patterns and textures. Within each tail feather, sketch lines to represent the feather’s structure and add eye shapes or decorative patterns. These details will bring realism and depth to your drawing.

Step 5: Apply Base Colors
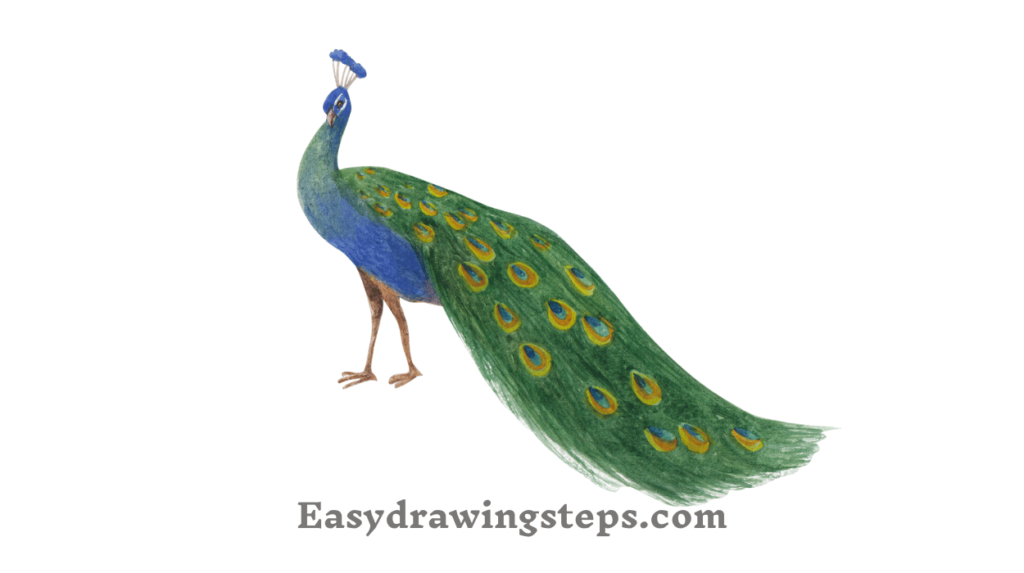
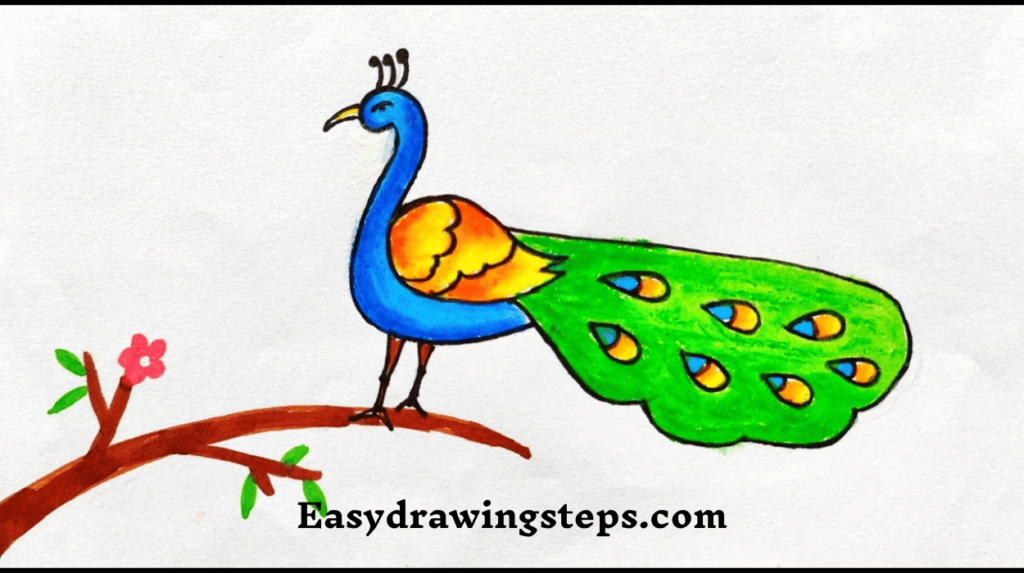
Begin coloring your peacock by applying a base layer of color. Use light strokes to lay down the primary colors on the feathers, such as rich blues, greens, and golds. For a more structured approach, use colored pencils to create a smooth and even base layer.
Step 6: Blend the Colors
Blend the colors to create a seamless transition between shades. Use a blending tool or gently layer different colors with colored pencils to achieve a smooth gradient. Blending enhances the natural shine and depth of the peacock’s feathers.
Also Read : 10 Steps to Draw Pencil Easy Peacock Drawings
Step 7: Add Highlights and Shadows
Enhance the three-dimensional effect of your drawing by adding highlights and shadows. Apply a white or light-colored pencil to areas where light hits the feathers to create highlights. Add darker shades or shadows where feathers overlap or where the body casts a shadow. This step adds dimension and realism.

Step 8: Color the Background
Consider adding a simple background to complement your peacock. Sketch and color elements like grass, flowers, or a soft sky to provide context. Use light colors to ensure the background enhances rather than distracts from the peacock.
Also Read : 10 Easy Steps to Draw Peacock Drawing With Colour
Step 9: Review and Refine
Review your drawing for any areas that may need adjustments. Add more color layers if necessary to deepen shades or enhance highlights. Make sure all the details are defined and the colors are well-blended.
Step 10: Final Touches
Apply any final touches to complete your drawing. Add extra details, refine edges, and ensure the overall composition is balanced. These final adjustments will polish your artwork and bring out the beauty of the peacock in full color.
Drawing a peacock with colors can be a fun and rewarding experience. By following these ten easy steps, you can create a beautiful and vibrant peacock drawing that showcases the elegance of this magnificent bird. Whether you use colored pencils or other coloring tools, these techniques will help you achieve a stunning result that highlights the peacock’s grace and beauty. Enjoy the creative process and let your artistic vision take flight!
Easy Peacock Drawing With Colour FAQ
What are the initial steps to start drawing a peacock with color?
Begin by sketching the basic shapes for the peacock, including a circle for the head and an oval for the body. Connect these with a curved line for the neck and sketch elongated ovals for the tail feathers. This preliminary sketch provides a framework for adding details and colors later on.
How can I add detail to the peacock’s feathers?
To detail the feathers, draw individual feather patterns and textures within each tail feather. Include lines to represent the feather’s structure and add decorative elements like eye shapes. These details will make the feathers look more realistic and enhance the overall appearance of the peacock.
What is the best method for blending colors in a peacock drawing?
Apply a base layer of color with light strokes and then use a blending tool or colored pencils to merge different shades smoothly. Layer the colors gradually to create depth and a natural shine. Blending helps achieve a seamless gradient and a more vibrant appearance for the peacock’s feathers.
How do I highlight and shadow the peacock to add dimension?
Add highlights by using a white or light-colored pencil to areas where light naturally hits the feathers. Create shadows with darker shades where feathers overlap or where the body casts a shadow. This technique enhances the three-dimensional effect and makes the drawing more realistic.
What should I consider when adding a background to my peacock drawing?
Choose a simple background that complements the peacock without overwhelming it. Consider adding elements like grass, flowers, or a soft sky. Use light colors for the background to keep the focus on the peacock while enhancing the overall composition.

