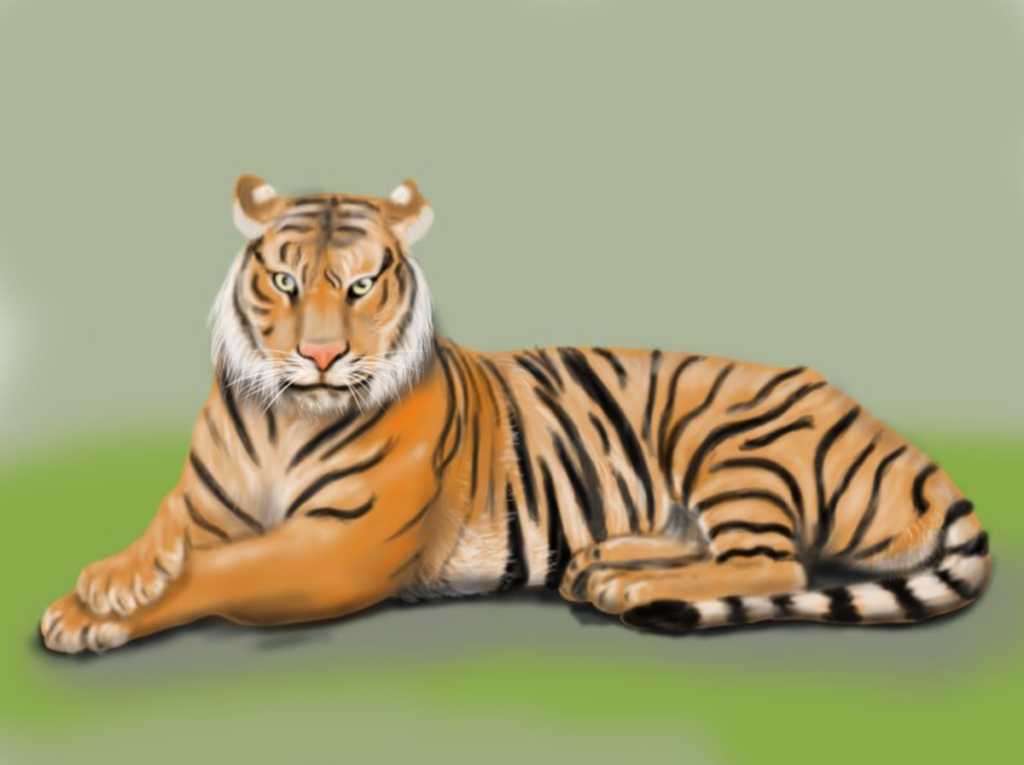
Bengal Tiger Drawing: Drawing allows us to tap into our imagination and bring our visions to life on paper. One captivating subject to sketch is the majestic Bengal tiger, with its powerful presence and striking features.
If you’re eager to embark on a creative journey, here are 7 simple steps to guide you in drawing your very own Bengal tiger drawing
| Material | Description |
|---|---|
| Pencil | Used for sketching the initial outlines and details of the Bengal tiger. |
| Eraser | Essential for correcting mistakes and refining the sketch without leaving smudges or marks. |
| Paper | Provides a surface for drawing the Bengal tiger, with options including sketch paper or drawing pads. |
| Drawing Pens | Optional for adding finer details or outlining the final drawing of the Bengal tiger. |
| Colored Pencils | Used for shading and coloring the Bengal tiger to add depth and realism to the drawing. |
| Marker Pens | Optional for adding bold outlines or defining specific features of the Bengal tiger. |
| Blending Stumps | Optional for blending colors and creating smooth transitions in the fur of the Bengal tiger. |
| Reference Images | Helpful for studying the anatomy and features of Bengal tigers to accurately depict them in the drawing. |
Step 1: Sketch the Basic Shapes of Bengal Tiger Drawing
- Begin by lightly sketching the basic shapes that will form the foundation of your tiger. Draw a large oval for the body and a smaller one for the head. Add smaller circles for the joints of the legs, and a long curved line for the tail.
Step 2: Define the Body
- Refine the outline of the tiger’s body by adding more details. Connect the ovals with curved lines to form the torso and limbs. Incorporate triangles for the ears, ensuring they are pointed and prominent.
Also Read : 7 easy steps to draw dog drawing for kids easy
Step 3: Add Facial Features
- Capture the essence of the tiger’s face by drawing its distinctive features. Create round eyes by sketching two large circles, and add smaller circles within for pupils. Craft a triangular nose and define the mouth with a subtle curve. Don’t forget to include whiskers for an added touch of realism.
Step 4: Outline the Stripes
- Tigers are renowned for their mesmerizing stripes, so it’s time to incorporate them into your drawing. Use curved lines to crisscross the body, forming the characteristic stripes that adorn the tiger’s fur. Experiment with the thickness and spacing of the stripes to achieve the desired effect.
Step 5: Refine the Details
- Take a closer look at your sketch and refine the details to enhance its realism. Add texture to the fur by drawing short, curved lines across the body. Pay attention to the tiger’s facial features, adding depth and definition with subtle shading and contouring.
Step 6: Shade and Color
- Bring your Bengal tiger to life by adding depth and dimension through shading and coloring. Tigers typically have vibrant orange fur with white underbellies, so use shades of orange and white to color your drawing. Darken the stripes with deeper shades of orange or black, and incorporate highlights for added realism.
Step 7: Final Touches
- Complete your masterpiece by adding any final touches and details. Erase any stray lines or smudges, ensuring a clean and polished finish. Consider signing your name in the corner as a testament to your artistic prowess.
With these 7 easy steps, you can unleash your creativity and embark on an exciting artistic endeavor. Whether you’re a seasoned artist or a budding enthusiast, drawing a Bengal tiger offers a captivating opportunity to explore your imagination and hone your skills. So, grab your pencil and let your creativity soar as you bring this magnificent creature to life on paper. Happy drawing!


