

Computer Parts Drawing Easy : Drawing computer parts can be a fun and educational activity for kids and adults alike.
Whether you want to use a pencil or color your drawing, this guide will take you through 10 easy steps to create accurate and simple computer parts.
Follow along, and by the end, you’ll have a great drawing of computer parts ready to display!
1. Draw the Monitor
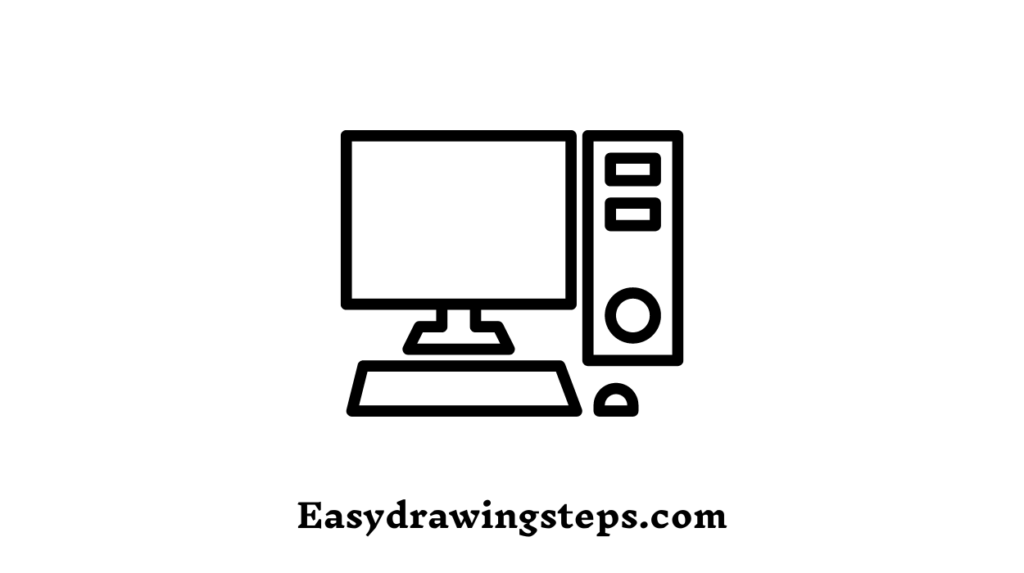
Start with a rectangle to represent the monitor screen. Add a smaller rectangle within it to create the display area. This step forms the foundation of your computer drawing.
Also Read : 10 easy steps to draw Honey Bee Drawing
2. Add the Monitor Stand
Draw a narrow rectangle or an oval shape below the monitor to represent the stand. Connect the monitor and stand with a short vertical line. This will make the monitor look balanced and realistic.
3. Sketch the Keyboard
Below the monitor, draw a long, thin rectangle for the keyboard base. Add small rectangles or squares within this shape to represent the keys. The keyboard can be as detailed or simple as you like.
Also Read : 10 easy steps to draw Doctor Day Poster Drawing
4. Draw the Mouse
To the side of the keyboard, draw a small oval shape for the mouse. Add a line in the middle to indicate the mouse buttons and a short line at the bottom for the mouse cord.
5. Create the Computer Tower
Next to the monitor or under the desk, draw a tall rectangle to represent the computer tower. Add smaller rectangles or circles on the front to show the power button, USB ports, and other details.
Also Read : 10 easy steps to draw Hen Drawing
6. Add Cables and Wires
Draw lines connecting the monitor, keyboard, mouse, and tower to represent the cables. This step adds realism to your drawing by showing how the parts are interconnected.
7. Detail the Monitor and Keyboard
Add additional details to the monitor by drawing small circles or rectangles to represent the power button and other controls. For the keyboard, you can add more keys and labels if you want more detail.
Also Read : 10 easy steps to draw Carrot Drawing
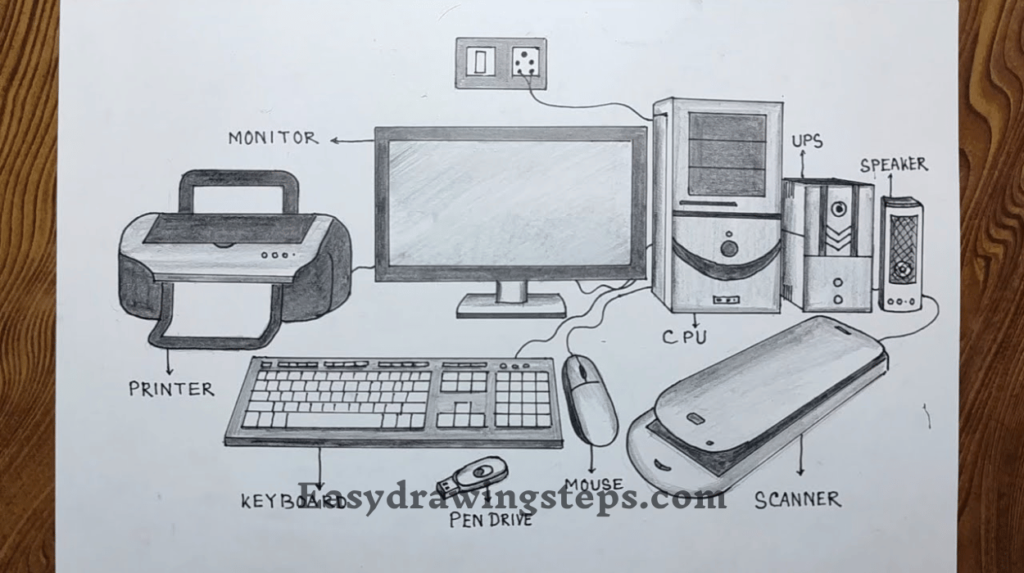
8. Sketch Additional Peripherals
If you like, add other peripherals such as speakers, a printer, or a webcam. Use simple shapes like rectangles and circles to draw these items.
9. Refine and Outline
Go over your drawing with a darker pencil or pen to refine the lines and make the shapes clearer. Erase any unnecessary or overlapping lines to clean up the drawing.
Also Read : 10 easy steps to draw Brinjal Drawing
10. Color Your Drawing
Now comes the fun part! Use colored pencils, markers, or crayons to add color to your computer parts. Use realistic colors like black, grey, and white, or get creative with vibrant colors for a fun twist. Computer Parts Drawing easy
Computer Parts Drawing Easy for Kids
When drawing computer parts for kids, focus on simple shapes and clear outlines. Encourage kids to use their imagination and have fun with the process. Simple rectangles, circles, and lines can make the drawing process easy and enjoyable for young artists.
Computer Parts Drawing Easy with Pencil
Using a pencil allows for easy corrections and adjustments. Start with light sketches and gradually darken the lines as you refine the shapes. Pencil drawings can be detailed with shading to add depth and dimension to the computer parts.
Computer Parts Drawing Easy with Colour
Adding color to your computer parts drawing can make it more engaging and visually appealing. Use bright and bold colors to make the drawing pop. Encourage kids to experiment with different color combinations to make their artwork unique.
Computer Parts Drawing Easy Step by Step
Breaking down the drawing process into simple, step-by-step instructions ensures that anyone can follow along and create a great drawing. By following the 10 steps outlined above, you can achieve a clear and accurate representation of computer parts, whether you’re a beginner or an experienced artist.
By following these 10 easy steps, you’ll have a complete drawing of computer parts that’s perfect for kids, beginners, and anyone looking to practice their drawing skills. So grab your drawing supplies, and let’s create a fantastic computer parts drawing together!
FAQ
What are the basic shapes used to draw computer parts?
The basic shapes used to draw computer parts include rectangles, circles, and ovals. For example, a monitor is typically represented by a rectangle, a mouse by an oval, and buttons or ports by small circles or squares. Using these simple shapes makes it easier to create an accurate and cohesive drawing.
How can kids make their computer parts drawing more fun and creative?
Kids can make their computer parts drawing more fun and creative by using bright and bold colors, adding fun accessories, and drawing additional items like speakers or a printer. They can also personalize their drawing by adding stickers, labels, or drawing a unique background, such as a colorful desk or a lively room setting.
What tips can you give for drawing computer parts with a pencil?
When drawing computer parts with a pencil, start with light, simple sketches to outline the basic shapes. This allows for easy corrections and adjustments. Gradually darken the lines as you refine the shapes and add details. Use shading techniques to add depth and dimension to the parts, making the drawing look more realistic and polished.
How can I ensure my computer parts drawing looks accurate and proportionate?
To ensure your computer parts drawing looks accurate and proportionate, use reference images to observe the correct shapes and sizes of the different parts. Pay attention to the relative sizes of the monitor, keyboard, mouse, and computer tower. Start with basic shapes and refine them step by step, checking the proportions as you go. Using a ruler can also help maintain straight lines and consistent sizes.