
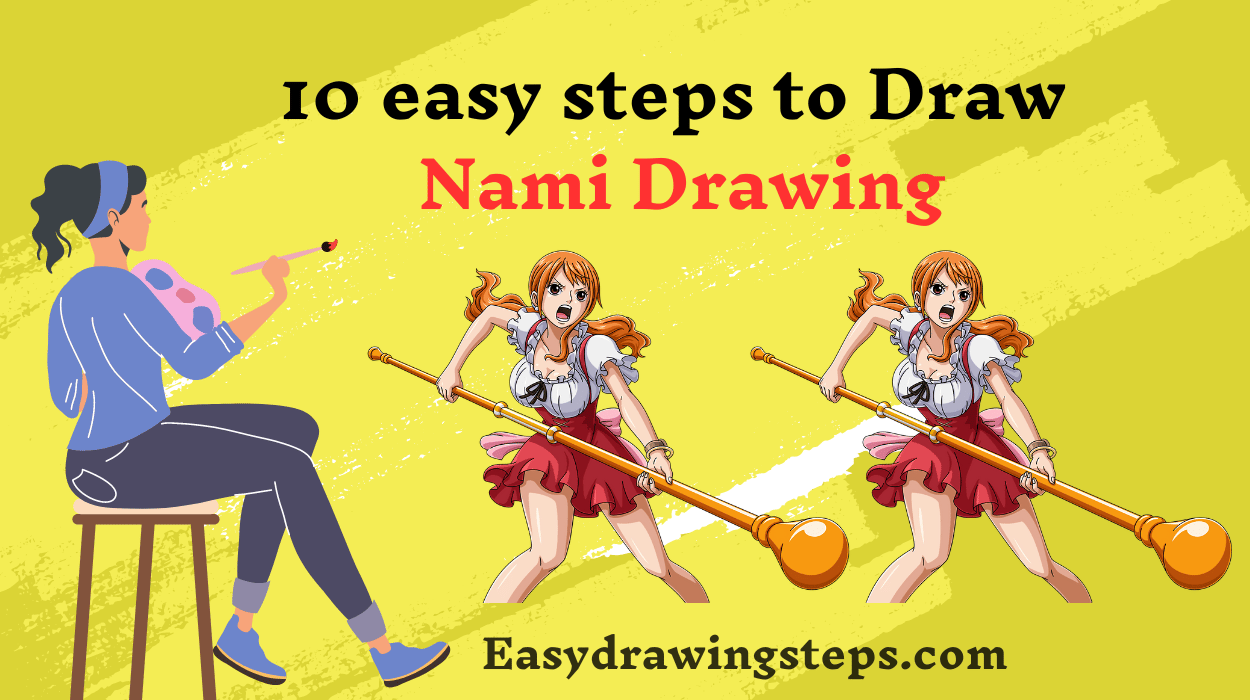

Nami Drawing : Drawing Nami from One Piece can be a fun and rewarding experience, especially for fans of the series.
This step-by-step guide will help you capture the essence of this beloved character.
Follow along to create a detailed and vibrant drawing of Nami.
Step 1: Gather Your Materials
Before starting, gather your materials: paper, pencils (HB, 2B, 4B), an eraser, a sharpener, and colored pencils or markers if you plan to add color.
Also Read : 10 easy steps to draw Sakura Haruno Drawing
Step 2: Outline the Head and Body
Begin by lightly sketching an oval shape for the head. Add a vertical guideline down the center of the face and a horizontal line across the middle for eye placement. Draw a rough outline of her body, focusing on proportion and posture.
Step 3: Draw the Eyes
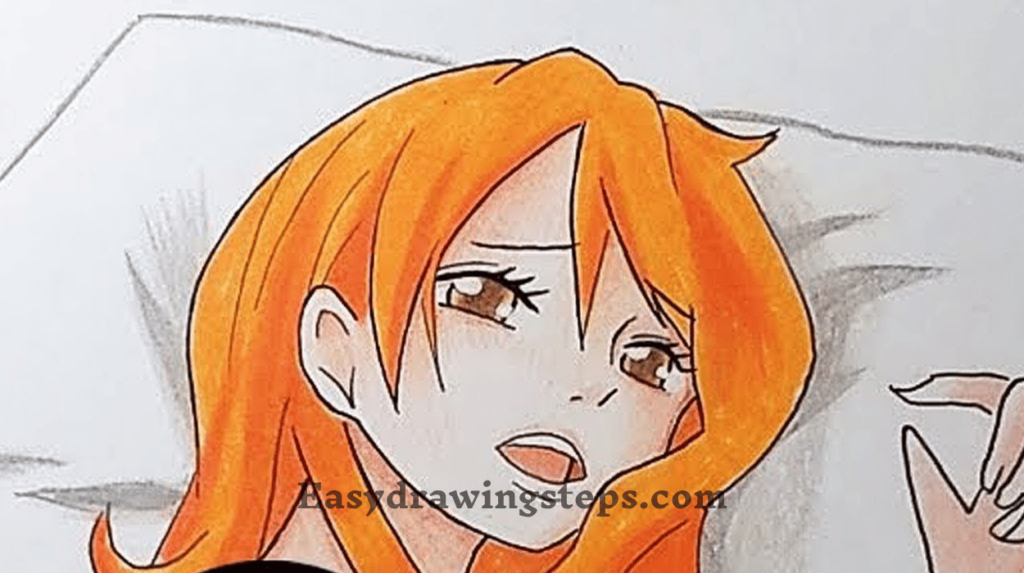
On the horizontal guideline, sketch Nami’s large, expressive eyes. Ensure the eyes are evenly spaced and proportionate to the face. Add details like the irises, pupils, and eyelashes to capture her lively expression.
Also Read : 10 easy steps to draw Vegeta Drawing
Step 4: Sketch the Nose and Mouth
Below the horizontal guideline, draw Nami’s small, delicate nose. Below the nose, sketch her mouth, often depicted with a confident smile. Pay attention to the shape and size to match her cheerful personality.
Step 5: Outline the Hair
Nami’s hair is a distinctive feature. Draw her long, wavy hair, starting with the fringe that frames her face. Add the flowing strands that cascade down her shoulders. Take your time to capture the movement and volume of her hair.
Also Read : 10 Easy Steps to Draw MS Dhoni Drawing
Step 6: Draw the Ears and Neck
Add her ears on either side of the head, aligning them with the eyes and nose. Draw the neck, connecting it smoothly to the body outline. This step adds structure and realism to your drawing.

Step 7: Sketch the Outfit
Nami often wears stylish and varied outfits. Choose one of her iconic looks and sketch her clothing. Pay attention to details like her top, jewelry, and any accessories she may have. This adds personality and context to your drawing.
Also Read : 10 easy steps to draw Bulma Drawing from Dragon Ball
Step 8: Add Details and Refine
Go over the drawing to add finer details. Refine the facial features, hair texture, and clothing details. Use a softer pencil (like 4B) for darker areas and a harder pencil (like HB) for lighter shading. This creates depth and dimension.

Step 9: Color the Drawing
If you’re adding color, use colored pencils or markers. Nami’s hair is orange, and her outfits often feature bright and contrasting colors. Carefully color within the lines, adding shading to create a three-dimensional effect.
Also Read : 10 easy steps to draw APJ Abdul Kalam Drawing
Step 10: Final Touches
Review your drawing for any final touches. Add highlights to the eyes and hair to enhance their shine. Clean up any stray pencil marks with an eraser, and make sure all lines are neat and defined. Your Nami drawing is now complete!
Nami Drawing Easy
This guide simplifies the process, making it accessible even for beginners. By breaking down each step, you can gradually build up the likeness of Nami with confidence and precision.
One Piece Nami Drawing
Drawing Nami from One Piece allows fans to engage with the character on a deeper level. This process can be a fun way to express your appreciation for the series and improve your drawing skills simultaneously.
Sketch Nami Drawing
Creating a sketch of Nami is a great way to practice capturing her dynamic and vibrant personality. Focus on her distinctive features, such as her expressive eyes and flowing hair, to bring your sketch to life.
Easy Nami Drawing
This step-by-step approach makes it easy to draw Nami, regardless of your skill level. With practice and patience, you can create a beautiful and accurate representation of this beloved character.
By following these ten steps, you can create a detailed and lively drawing of Nami. Whether it’s for personal enjoyment, a fan art project, or to improve your artistic skills, this guide provides a clear and accessible path to success.
FAQ
How can I ensure the proportions of Nami’s face and body are accurate?
To ensure accurate proportions, start with basic shapes and guidelines. Draw an oval for the head and divide it with a vertical line for symmetry and a horizontal line for the eyes. For the body, sketch a simple framework using lines and shapes to outline her torso, arms, and legs. Refer to reference images of Nami to check proportions and adjust your drawing accordingly.
What are some tips for drawing Nami’s distinctive hair?
Nami’s hair is long and wavy. Begin by drawing the general shape of her hair, starting with the fringe and outlining the main sections. Add flowing lines to indicate the waves and volume. Pay attention to the direction of the hair strands to create a natural look. Use lighter strokes for initial outlines and darken the lines as you finalize the details.
How can I capture Nami’s expressive eyes in my drawing?
Nami’s eyes are large and expressive, often reflecting her lively personality. Draw the basic shape of the eyes, ensuring they are evenly spaced and proportionate to the face. Add the irises and pupils, making sure they are aligned. Include details like eyelashes and reflections to give the eyes depth and liveliness. Use reference images to capture her unique eye shape accurately.
What techniques can I use to add depth and dimension to Nami’s drawing?
To add depth and dimension, use shading and highlights effectively. Start by identifying the light source in your drawing. Shade areas that are away from the light source to create shadows. Use softer pencils for lighter shading and harder pencils for darker areas. Add highlights to the eyes, hair, and clothing to enhance the three-dimensional effect. Blending tools or a simple tissue can help create smooth transitions in shading.
How do I add color to my Nami drawing, and what colors should I use?
If you plan to color your drawing, use colored pencils or markers. Nami’s hair is typically orange, and her outfits feature bright and contrasting colors. Begin by coloring within the lines, using light strokes. Gradually build up the color intensity, adding shading to create a three-dimensional effect. Use reference images to ensure you’re using the correct colors for her hair, skin, and clothing. Adding highlights and shadows will make the colors pop and give your drawing more depth.