
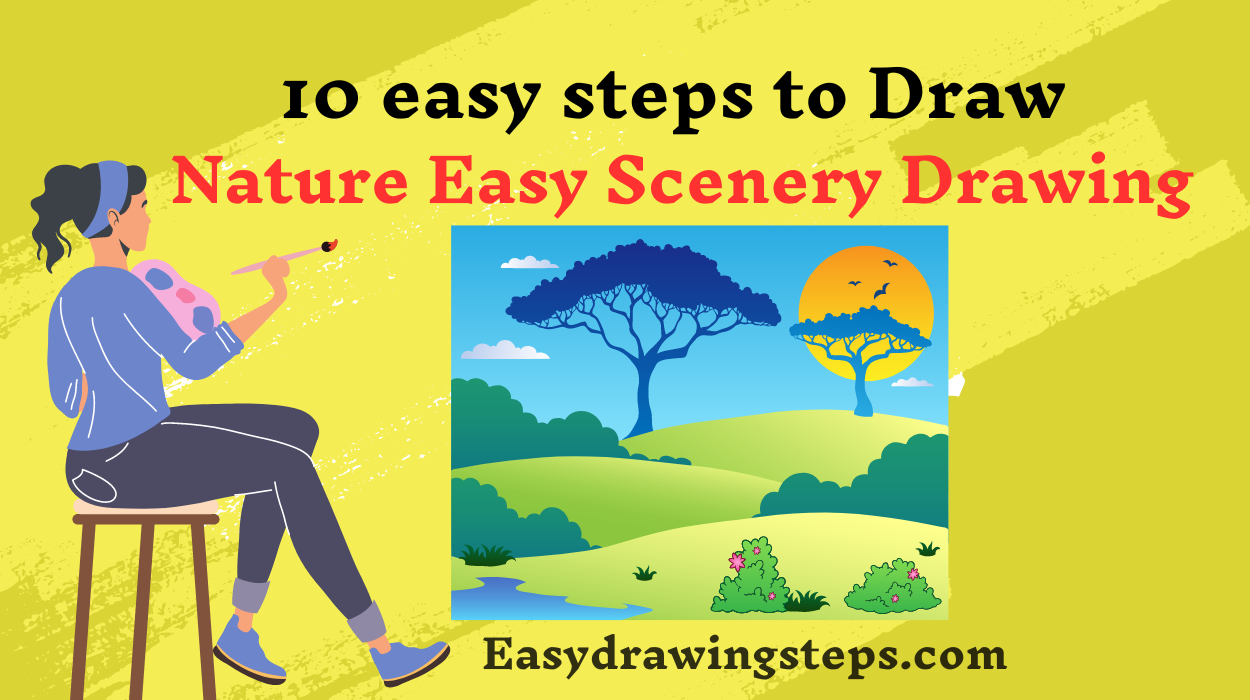

Nature Easy Scenery Drawing : Drawing nature scenery is a delightful and relaxing way to express creativity. Whether you’re a beginner or an experienced artist, following a structured approach can help you create stunning and serene landscapes. This guide will walk you through ten easy steps to draw a nature scenery that captures the beauty of the natural world.
Step 1: Gather Your Materials
Before you start, make sure you have all the necessary materials. You will need drawing paper, pencils (preferably HB for sketching and 2B or 4B for shading), an eraser, a sharpener, colored pencils or crayons, and blending tools like blending stumps or cotton swabs. These materials will help you create detailed and vibrant scenery drawings.
Step 2: Plan Your Composition
Decide on the elements you want to include in your nature scenery. Think about whether you want to draw a village scene, a sunset, or a simple nature landscape. Planning your composition will help you visualize the final drawing and ensure that all elements fit well together.
Also Read : 10 easy steps to draw Village Scenery Drawing
Step 3: Draw the Horizon Line
Start by drawing a horizontal line across your paper to represent the horizon. This line separates the sky from the land or water. Placing the horizon line slightly above or below the center can create a more dynamic composition and give your drawing a sense of depth.
Step 4: Sketch Basic Shapes
Using light pencil strokes, sketch the basic shapes of the main elements in your scenery. Draw circles for the sun or moon, rectangles for houses, and triangles for mountains. This step helps you establish the layout of your drawing and serves as a guide for adding details later.
Also Read : 10 easy steps to draw Oil Pastel Scenery Drawing
Step 5: Add Details to the Foreground
Start adding details to the foreground elements such as trees, flowers, rocks, and paths. Use simple lines and shapes to create these features. Adding more details to the foreground will create depth and make your scenery more interesting and engaging.
Step 6: Draw the Background Elements
Move on to the background elements like mountains, hills, and distant trees. Use lighter pencil strokes for these elements to create a sense of distance. This step helps build the overall landscape of your drawing and makes it look more realistic.
Also Read : 10 easy steps to draw Scenery Drawing For Kids
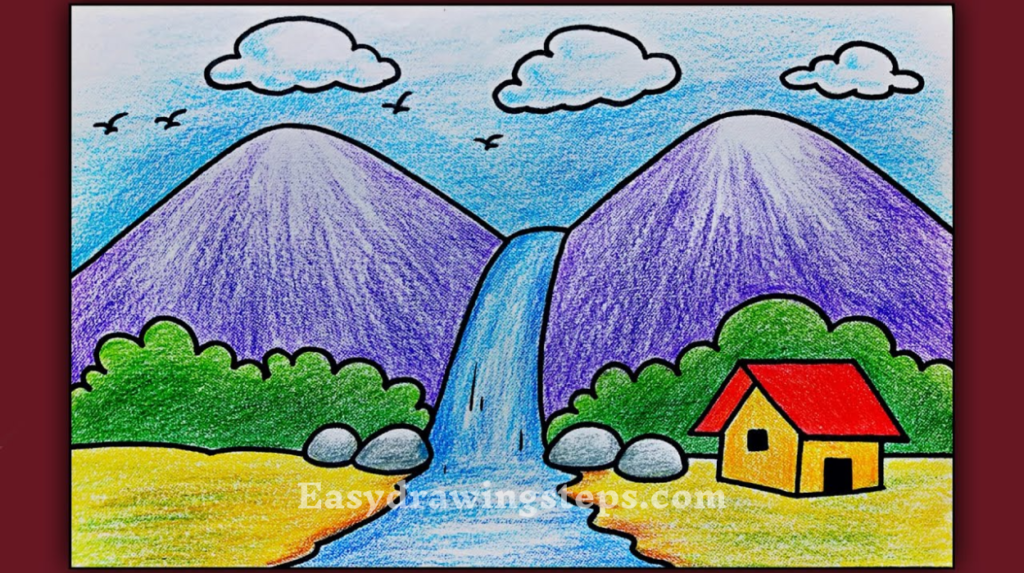
Step 7: Incorporate Water Elements
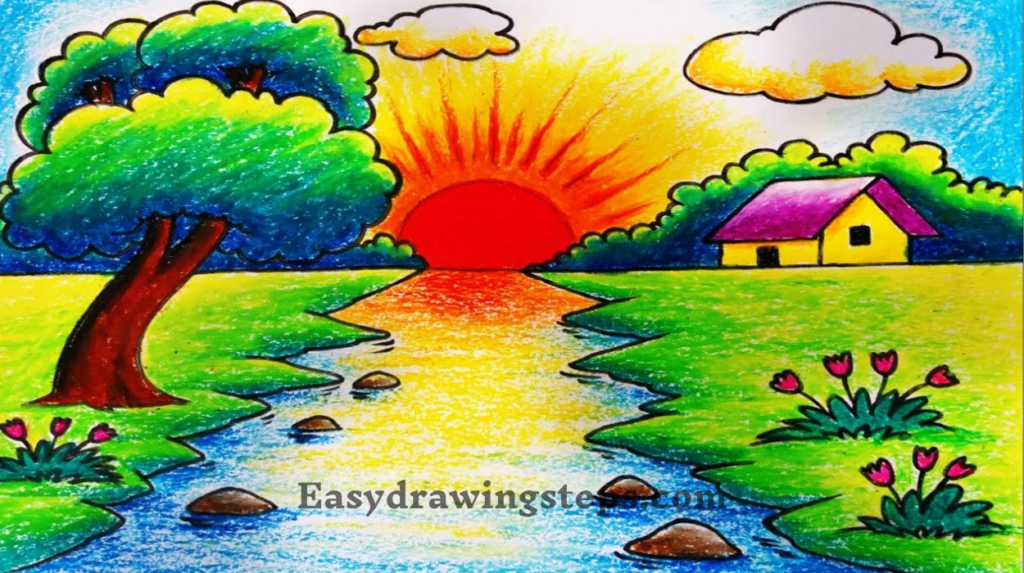
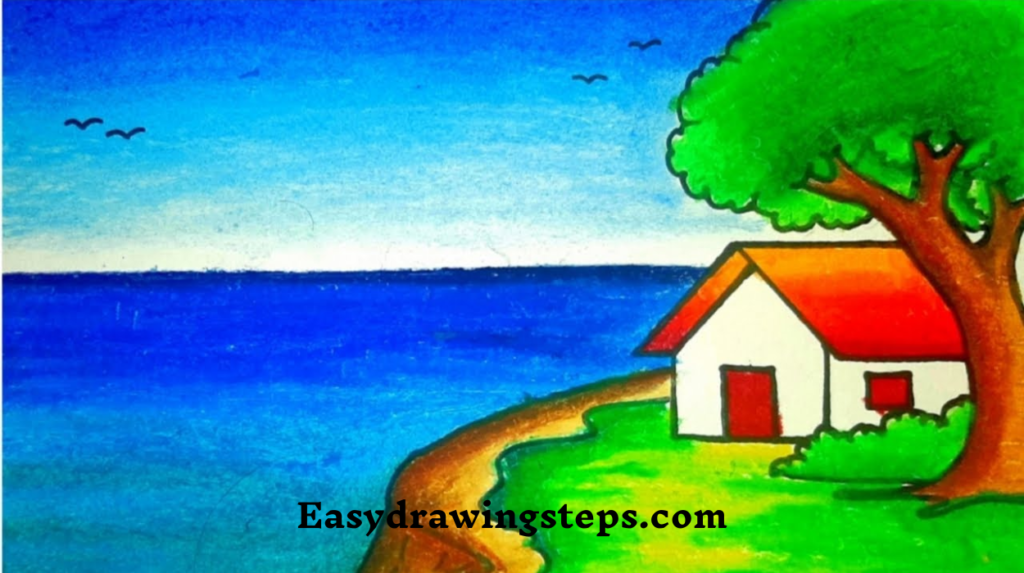
If your scenery includes water, draw a river, lake, or pond. Use curved or wavy lines to represent the water’s edge. For a river, draw it flowing through the landscape, starting wide in the foreground and narrowing towards the horizon. Adding water elements adds variety and interest to your drawing.
Step 8: Add Sky Details
Draw elements like clouds, birds, and the sun or moon in the sky. Use fluffy, curved lines for clouds and simple, V-shaped lines for birds. The sun can be a circle with rays extending outward, and the moon can be a crescent or full circle. These details will bring your sky to life and complete your scenery.
Also Read : 10 easy steps to draw Beautiful Scenery Drawing
Step 9: Outline and Define Shapes
Go over your pencil sketches with a darker pencil or pen to define the shapes and outlines of your elements. This step makes the drawing clearer and more structured. Pay attention to the details and refine any rough edges to enhance the overall look of your drawing.
Step 10: Add Color and Final Touches
If you want to add color, use colored pencils or crayons to bring your scenery to life. Choose natural colors like greens, blues, and browns. Layer the colors and blend them smoothly to achieve a polished look. Finally, review your drawing and make any necessary adjustments. Add any final touches to enhance details or correct mistakes.
Other Nature Easy Scenery Drawing Ideas
- Class 4 nature easy scenery drawing: This refers to a nature scenery drawing that is suitable for fourth-grade students. It focuses on simple and easy-to-follow steps to create a beautiful nature scene, making it accessible for young artists.
- Village nature easy scenery drawing: This involves drawing a charming village scene with elements like houses, trees, and paths. It captures the essence of rural life and integrates natural elements to create a serene landscape.
- Simple nature easy scenery drawing: This emphasizes creating a nature scenery drawing with straightforward and uncomplicated steps. It is designed to be easy to follow, making the drawing process enjoyable for beginners and children.
- Sunset nature easy scenery drawing: This refers to drawing a picturesque sunset scene with vibrant colors and smooth transitions. The steps are designed to be simple, making it easy to depict the stunning beauty of a sunset in a natural setting.
Creating a nature scenery drawing is a wonderful way to express creativity and appreciate the beauty of the natural world. By following these ten easy steps, anyone can create stunning landscapes with detailed and vibrant elements.
Whether you’re drawing a village scene, a serene sunset, or a simple nature landscape, this guide will help you achieve a beautiful and satisfying final artwork. Enjoy the process and happy drawing!
FAQ
What materials are essential for drawing a nature easy scenery?
To draw a nature easy scenery, you will need drawing paper, pencils (preferably HB for sketching and 2B or 4B for shading), an eraser, a sharpener, colored pencils or crayons, and blending tools such as blending stumps or cotton swabs. These materials will help you create detailed, vibrant, and smooth drawings, capturing the essence of natural landscapes.
How can beginners start drawing nature easy scenery?
Beginners can start drawing nature easy scenery by planning their composition and deciding on the elements to include, such as trees, mountains, rivers, or a sunset. Begin with a horizon line to separate the sky from the land, then sketch basic shapes to outline the main elements. Gradually add details, define the shapes, and use shading and coloring techniques to enhance the drawing. This step-by-step approach ensures that even beginners can create beautiful and cohesive nature scenes.
What are some tips for adding depth and realism to a scenery drawing?
To add depth and realism to a scenery drawing, use shading, perspective, and texture. Identify a light source and shade areas accordingly, using hatching or cross-hatching for smooth transitions. Apply perspective by making objects in the foreground larger and more detailed, and objects in the background smaller and lighter. Adding texture to elements like tree bark, grass, and water can make the drawing more realistic and engaging.
How can a sunset be incorporated into a nature easy scenery drawing?
To incorporate a sunset into a nature easy scenery drawing, start by drawing a horizon line and sketching the sun near the horizon. Use curved lines to draw clouds and add birds for extra detail. Color the sky with warm hues like orange, red, and yellow, blending them smoothly to create a gradient effect. Darken the colors near the horizon to depict the setting sun. Adding reflections in any water elements enhances the realism and beauty of the sunset scene.
What are common themes for nature easy scenery drawings?
Common themes for nature easy scenery drawings include landscapes, village scenes, and sunsets. These themes offer a variety of elements to explore, such as mountains, rivers, trees, houses, and the sky. Each theme provides opportunities to experiment with different techniques, colors, and perspectives, making the drawing process enjoyable and diverse. Creating drawings based on these themes helps artists capture the beauty and tranquility of natural settings.
1 thought on “10 easy steps to draw Nature Easy Scenery Drawing”