

Night Oil Pastel Scenery Drawing : Drawing a night scenery with oil pastels is a delightful experience, especially when you capture the serene beauty of the night sky.
In this step-by-step guide, we’ll walk you through creating a captivating night oil pastel scenery drawing. Perfect for beginners, this guide will help you create a stunning moonlit or sunset night scene.
So, let’s get started on this artistic journey!
Step 1: Gather Your Materials
Before diving into your drawing, ensure you have all the necessary materials:
- Oil pastels
- Drawing paper (preferably thick and textured)
- Pencil and eraser
- Blending stumps or cotton swabs
- Ruler (optional)
Step 2: Sketch the Basic Outline
Start by lightly sketching the basic outline of your night scenery. Consider where you want the moon, stars, or sunset to be. If you’re drawing a moonlight scene, sketch a large moon; for a sunset night scene, outline the horizon and any foreground elements like trees or buildings.
Also Read : 10 easy steps to draw Chandra Dinam Drawing
Step 3: Color the Sky
For a sky night oil pastel scenery drawing, choose a palette of dark blues, purples, and blacks. Begin by coloring the top of the sky with the darkest shade, gradually blending lighter shades as you move down. Use a blending stump or cotton swab to smooth the transitions.
Step 4: Add the Moon and Stars
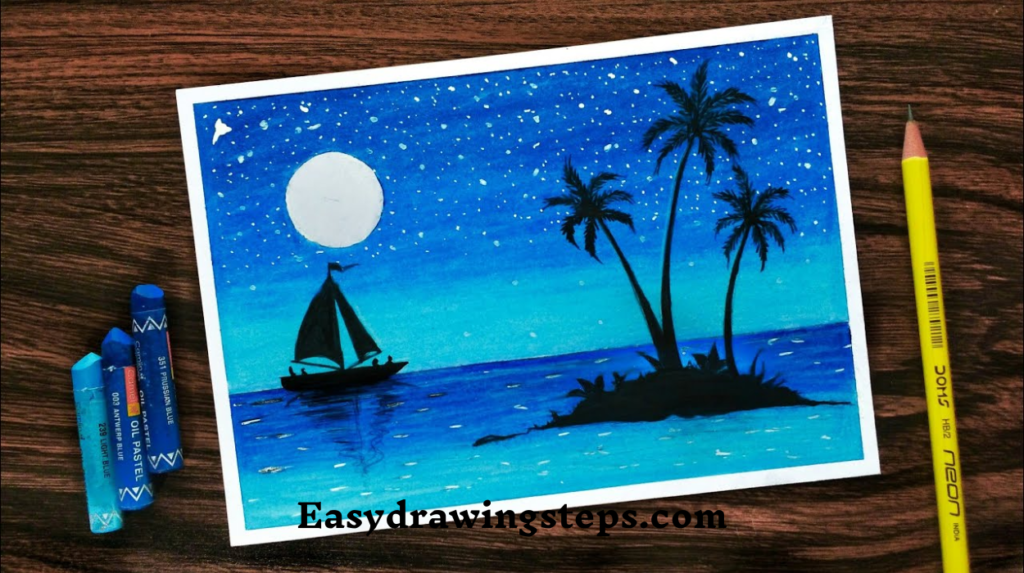
If you’re creating a moonlight night oil pastel scenery drawing, use a white or light yellow pastel to draw the moon. Add stars by lightly dabbing white pastel across the sky. For a more realistic look, vary the size and brightness of the stars.
Also Read : 10 easy steps to draw Night Scenery Drawing
Step 5: Blend the Moonlight
To create a glowing effect around the moon, gently blend the edges with a light pastel color. This will give the moon a soft, radiant glow, enhancing the night ambiance.

Step 6: Draw the Horizon
For beginners night oil pastel scenery drawing, focus on creating a simple yet effective horizon. Use darker shades to outline distant hills or mountains. Blend these colors smoothly into the night sky.
Also Read : 10 easy steps to draw Pencil Nature Scenery Drawing
Step 7: Add Foreground Elements
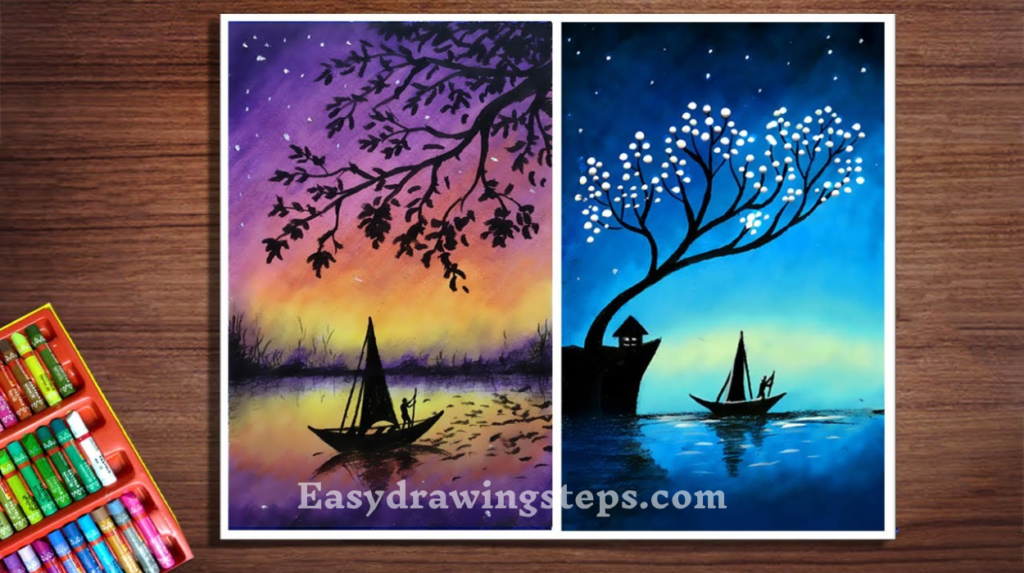
Foreground elements like trees, buildings, or water can add depth to your drawing. Use dark pastels to draw silhouettes of trees or buildings against the night sky. For a water element, blend dark blue and black pastels, adding white or light blue streaks to mimic moonlight reflections.
Step 8: Enhance the Details
Refine your drawing by adding finer details. For example, if you’re drawing a sunset night oil pastel scenery drawing, use vibrant oranges and reds near the horizon to indicate the last rays of the setting sun. Blend these colors gently into the darker sky.
Also Read : 10 easy steps to draw Cute Baby Drawing
Step 9: Final Touches
Add final touches to your drawing, such as additional stars, shadows, or reflections. Ensure all elements are well-blended to create a cohesive and harmonious night scene.
Step 10: Fixative Spray (Optional)
To preserve your artwork, you can use a fixative spray. This will help prevent smudging and keep your night oil pastel scenery drawing vibrant.
By following these steps, you’ll be able to create a stunning night scenery that showcases the tranquil beauty of the night. Whether it’s a serene moonlit scene or a dramatic sunset fading into night, your oil pastel drawing will capture the essence of the night sky.
Embrace the beauty of the night and let your creativity shine through with oil pastels. Happy drawing!
FAQ
What are the essential materials needed for a night oil pastel scenery drawing?
To create a night oil pastel scenery drawing, you will need oil pastels in a variety of colors, particularly dark blues, purples, blacks, whites, and yellows. Thick and textured drawing paper is ideal as it holds the layers of oil pastels well. A pencil and eraser are necessary for sketching the initial outline. Blending stumps or cotton swabs will help you blend the colors smoothly, and a ruler can be useful for drawing straight lines like the horizon.
How can I create a realistic moonlight effect in my drawing?
To achieve a realistic moonlight effect, start by drawing the moon with a white or light yellow pastel and adding stars using a white pastel. To give the moon a glowing effect, gently blend the edges with a light pastel color. For reflections of moonlight on water, use white or light blue streaks and blend them smoothly into darker shades of blue and black. This technique will create a serene and realistic moonlit scene.
What techniques can beginners use to blend oil pastels effectively?
Beginners can blend oil pastels effectively by using blending stumps or cotton swabs, applying gentle pressure in circular motions to blend the colors smoothly. Finger blending is another method, especially for larger areas, but it can be messy. Layering is also important; apply a base layer of color and then layer additional colors on top, blending as you go to create smooth transitions and a more polished look.
How can I add depth to my night scenery drawing?
To add depth to your night scenery drawing, include foreground elements such as silhouettes of trees or buildings using dark pastels. Draw a horizon line with distant hills or mountains, blending them smoothly into the night sky. Light and shadows are crucial for depth; use lighter pastels to highlight areas where moonlight or sunset light falls, and darker pastels to create shadows and depth, making your drawing more dynamic and realistic.
What are some common mistakes to avoid when drawing with oil pastels?
When drawing with oil pastels, avoid over-blending as it can muddy the colors and reduce their vibrancy. Using too much pressure can cause the paper to tear or the pastels to break. Skipping the initial sketch can lead to inaccurate proportions and composition. Lastly, ignoring the use of a fixative spray can result in smudging and reduce the longevity of your artwork. Keeping these potential pitfalls in mind will help you create more polished and lasting oil pastel drawings.
2 thoughts on “10 easy steps to draw Night Oil Pastel Scenery Drawing”