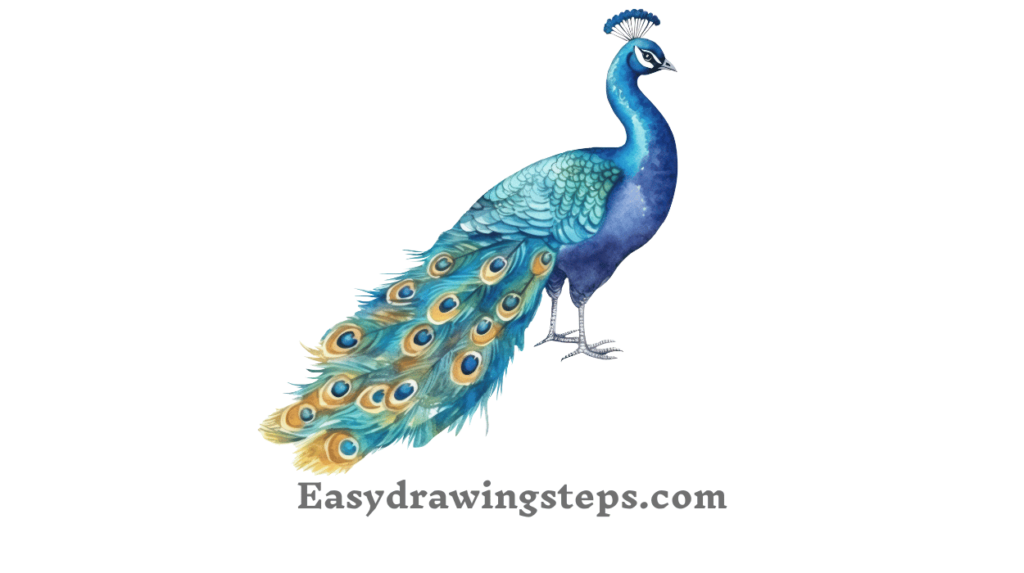
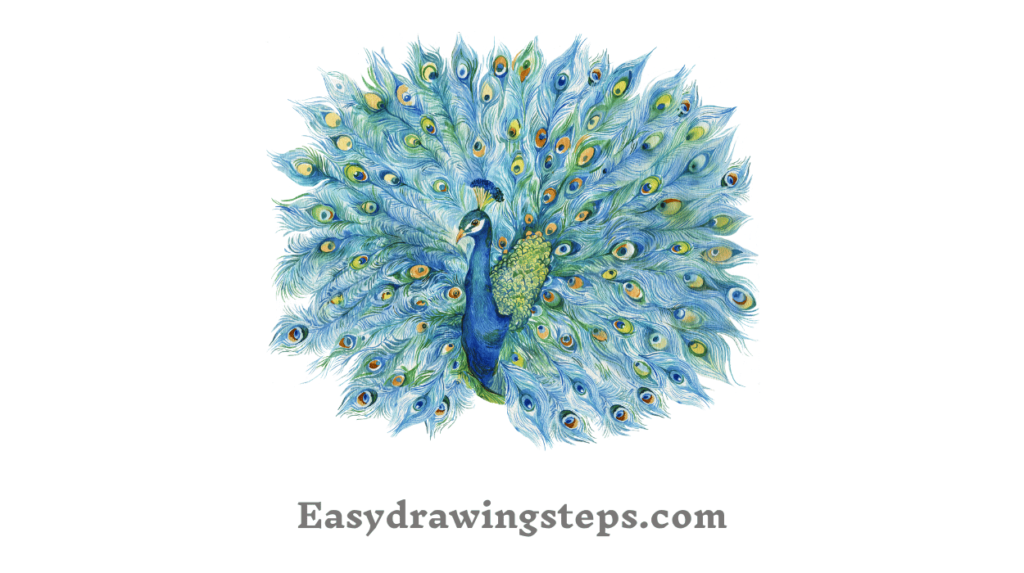
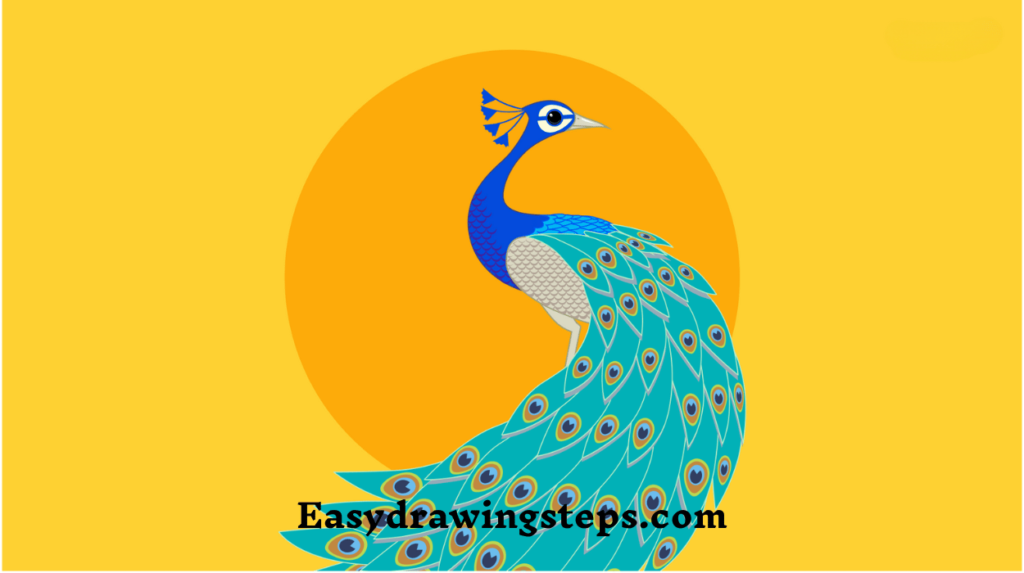
Peacock Drawing Easy And Beautiful : Peacocks are among the most majestic and colorful birds, making them a popular subject for artists.
Whether you’re a beginner or an experienced artist, creating a peacock drawing can be a fun and rewarding experience.
In this blog post, we’ll guide you through 10 steps to draw a peacock that’s easy and beautiful, perfect for anyone looking to improve their drawing skills.
Step 1: Start with the Basic Outline
To begin your peacock drawing, start with a simple outline. Draw a small circle for the head and a larger oval for the body. Add a curved line extending from the body for the tail. This basic framework will help you maintain the proportions of the peacock and serve as a guide for the rest of your drawing.

Step 2: Draw the Neck and Head
Next, draw the peacock’s slender neck by connecting the head and body with two curved lines. Add a small beak at the front of the head and sketch a small circle for the eye. The neck should have a graceful curve, reflecting the elegant posture of a peacock.
Also Read : 10 easy steps to draw Scenery Drawing For Kid
Step 3: Sketch the Body Feathers
Peacocks have intricate layers of feathers on their body. Use small, curved lines to represent the feathers, starting from the neck and working your way down the body. These feathers should increase in size as they move toward the tail, giving your drawing a realistic and textured look.
Step 4: Outline the Tail Feathers
The tail is the most striking feature of a peacock. Begin by drawing long, sweeping lines extending from the back of the body to form the tail feathers. These lines should radiate outward like a fan, creating the iconic peacock tail shape. This step is essential for achieving a beautiful peacock drawing.

Step 5: Add the “Eye” Patterns on the Tail Feathers
To make the tail feathers more authentic, add the peacock’s signature “eye” patterns. These are oval shapes with a smaller circle inside, resembling an eye. Place these patterns along each tail feather, spacing them evenly. This detail will bring your peacock drawing to life and highlight its natural beauty.
Step 6: Draw the Legs and Feet
Peacocks have slender legs that support their large bodies. Draw two lines for each leg, slightly bent at the knee, and add small, claw-like feet. Position the legs so that the peacock appears balanced and poised. This step adds a sense of realism to your drawing.
Also Read : 10 Easy Steps to Draw Pencil Radha Krishna Drawing
Step 7: Refine Your Drawing
Go over your peacock drawing to refine the details. Smooth out any rough edges, adjust the proportions if needed, and add more feathers or details to the tail. Refining your drawing will make it look polished and ready for the next steps.

Step 8: Pencil Shading for Depth
If you’re creating a pencil art peacock drawing, shading is key to adding depth and dimension. Use light and dark tones to create shadows on the body, neck, and tail feathers. Focus on the areas where the feathers overlap to create a three-dimensional effect. Shading will give your drawing a more lifelike appearance.
Also Read : 10 Steps to Draw Easy Krishna Drawing
Step 9: Adding Color
To make your peacock drawing easy and beautiful, adding color is essential. Peacocks are known for their vibrant blue, green, and gold feathers. Use these colors to fill in the body, neck, and tail feathers. Blending different shades will enhance the beauty of your drawing and make it stand out.
Step 10: Final Touches and Background
The final step is to add any last touches to your peacock drawing. This could include additional shading, refining the “eye” patterns, or smoothing out the colors. You can also add a simple background, such as a garden or forest, to place your peacock in a natural setting. This step will complete your drawing and make it truly beautiful.
Drawing a peacock is a wonderful way to practice and showcase your artistic skills. By following these 10 steps, you can create a peacock drawing that’s easy and beautiful, whether you choose to keep it as a pencil sketch or add vibrant colors. This guide is perfect for anyone, from kids to seasoned artists, who want to draw a peacock that captures the bird’s elegance and splendor.
Explore different styles, such as a pencil sketch or a colorful painting, and experiment with various backgrounds, like a scenery peacock drawing. Whatever your approach, remember that practice makes perfect, and each drawing will bring you closer to mastering the art of creating beautiful peacock illustrations. Happy drawing!
Peacock Drawing Easy And Beautiful FAQ
What is the first step in drawing a beautiful peacock?
The first step in drawing a beautiful peacock is to start with a basic outline. You should draw a small circle for the head and a larger oval for the body. Then, add a curved line extending from the body for the tail. This simple outline will help guide the proportions and overall structure of the peacock.
How do you create the iconic tail feathers of a peacock in your drawing?
To create the iconic tail feathers, draw long, sweeping lines radiating outward from the back of the body. These lines form the fan-like shape of the tail. Then, add the signature “eye” patterns, which are oval shapes with smaller circles inside, along each tail feather. This step adds authenticity and makes the peacock drawing truly beautiful.
How can shading enhance a pencil peacock drawing?
Shading is crucial in enhancing a pencil peacock drawing by adding depth and dimension. By using light and dark tones, especially around the body, neck, and tail feathers, you can create shadows that give a three-dimensional effect. Shading helps make the drawing more lifelike and adds a professional touch to the artwork.
What colors are typically used in a peacock drawing to make it vibrant?
To make a peacock drawing vibrant, artists typically use shades of blue, green, and gold. These colors reflect the natural beauty of a peacock’s feathers. Blending different shades of these colors can enhance the drawing, making it stand out and appear more realistic.
How can you add a background to your peacock drawing to make it more complete?
To make your peacock drawing more complete, you can add a simple background, such as a garden, forest, or any natural setting. This not only enhances the overall beauty of the drawing but also gives the peacock a context within its environment. A well-chosen background can make the drawing more dynamic and visually appealing.


2 thoughts on “10 Easy Steps to Draw Peacock Drawing Easy And Beautiful”