Pencil Krishna Drawing : Drawing Lord Krishna, the divine figure known for his grace, beauty, and charm, can be a truly delightful experience. Whether you’re a beginner or experienced artist, pencil drawings allow you to explore the intricacies of Krishna’s iconic appearance in an approachable way.
In this guide, I’ll walk you through 10 easy steps to draw a Pencil Krishna Drawing that captures the essence of this beloved deity.
Step 1: Start with Krishna’s Face Outline
Begin by sketching the basic outline of Krishna’s face. Draw a large oval or round shape, slightly narrowing toward the chin to represent his head. Keep your hand light as you’ll add more details later.

Step 2: Add Krishna’s Eyes and Eyebrows
Krishna is known for his expressive and serene eyes. Draw two large almond-shaped eyes with a peaceful gaze. Add gentle arches for his eyebrows. His eyes are often slightly elongated, giving them a soulful look. Inside the eyes, draw the pupils in the center to bring out life in your drawing.
Also Read : 10 Easy Steps to Draw Little Shiva Drawing
Step 3: Draw Krishna’s Nose and Lips
Next, draw a small, delicate nose beneath the eyes. Krishna’s nose should be graceful and slightly curved. Below the nose, sketch a subtle smile, symbolizing his divine playfulness. Keep his lips soft and simple, showing serenity.
Step 4: Draw the Ears and Hair
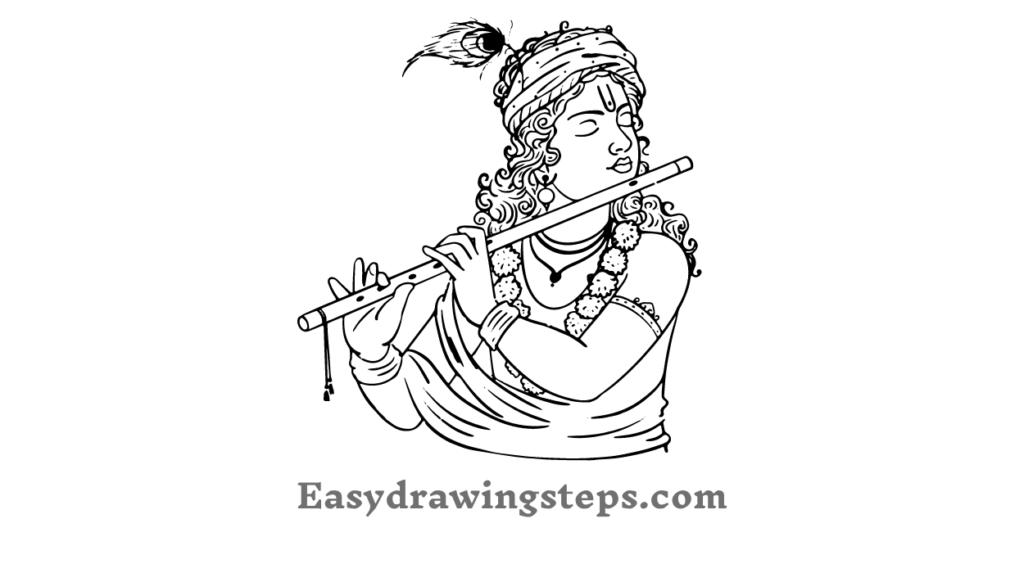
For the ears, draw two large, almost oval-shaped ears on either side of his face. You can embellish the ears with earrings, which are often part of Krishna’s attire. Moving on to the hair, sketch his curly locks that flow gracefully. Add a bun or topknot, which Krishna often wears adorned with a peacock feather.

Step 5: Draw Krishna’s Crown or Peacock Feather
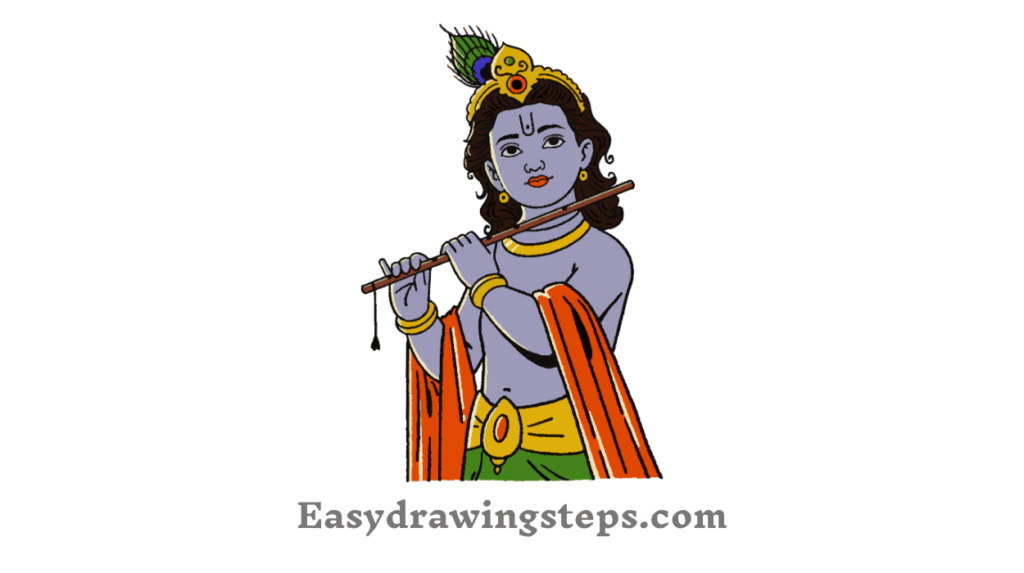
Krishna’s crown is iconic. Lightly sketch an outline of the crown on his head, adding decorative jewels. If you prefer a simpler drawing, you can add a peacock feather behind his head, a symbol that often appears in Krishna’s illustrations. This adds a unique touch to your pencil drawing.
Step 6: Outline Krishna’s Flute
Krishna is often depicted playing a flute, representing his enchanting nature. Draw a flute in his hand, extending it slightly across his body. Make sure the flute looks proportional to the size of his figure. The flute should have small circular holes along its length, as well as slight texture to bring it to life.
Also Read : 10 Easy Steps to Draw Shiva Drawing For Kids
Step 7: Sketch Krishna’s Upper Body and Hands
Now, draw the upper part of Krishna’s body. Start with a graceful neck and shoulders. His posture should be relaxed and divine. Add the hands holding the flute, ensuring that one hand is placed near his lips, as if he’s playing the flute, and the other hand holds the bottom part of the flute.
Step 8: Add Krishna’s Clothing
Krishna is usually dressed in flowing garments like a dhoti. Sketch soft lines that represent his clothes, flowing around his body gracefully. Add folds and creases in the fabric to give depth and realism to the drawing. For beginners, you can keep the clothes simple and elegant.
Also Read : 10 Easy Steps to Draw Mahalaya Drawing
Step 9: Draw Krishna’s Accessories
Krishna is often adorned with jewelry such as necklaces, bangles, and anklets. Lightly sketch simple jewelry around his neck, wrists, and ankles to bring a royal look to your Krishna drawing. You can add intricate designs if you feel comfortable with detailed work.
Step 10: Final Shading and Detailing
Now comes the fun part—adding shading and depth to your drawing. Use soft pencil strokes to shade Krishna’s face, hair, and clothes. Focus on giving his eyes a divine glow, adding depth to his smile, and enhancing the textures of his hair and crown. Lightly shade the flute and the folds of his clothing. The shading should be subtle but detailed enough to highlight the divinity and grace of Lord Krishna.
Now that you’ve completed your Pencil Krishna Drawing, step back and appreciate the artwork you’ve created. Whether you display it proudly or keep it as a personal sketch, this drawing will always be a beautiful reminder of divine creativity and peace.
Pencil Krishna Drawing FAQ
What is the most important feature to focus on when drawing Krishna’s face?
The most important feature to focus on is Krishna’s eyes. His eyes are often depicted as large, almond-shaped, and full of divine expression. Capturing the serene and soulful look in his eyes is key to bringing out his peaceful nature.
How can I make Krishna’s hair look realistic in a Pencil Krishna Drawing?
To make Krishna’s hair look realistic, draw flowing, wavy curls around his head and shoulders. You can also add light shading and texture using different pencil strokes. Krishna’s hair is often depicted as soft and voluminous, so avoid making harsh lines.
How can I ensure Krishna’s flute looks proportional to his figure?
When drawing Krishna’s flute, make sure its length is in proportion to the body, typically reaching from his hand near the lips to just above the waist. Use reference points like the length of his arm to measure the flute’s size in your sketch.
What is a simple way to add Krishna’s traditional clothing to the Pencil Krishna Drawing?
To add traditional clothing, sketch a flowing dhoti around his lower body with soft, curving lines. Keep it simple by adding folds and creases for texture. You can also draw a shawl draped over his shoulder for a more detailed look.
What type of shading should I use for Krishna’s facial features?
Use light, subtle shading for Krishna’s face to highlight his gentle and divine expression. Focus on shading areas around the eyes, nose, and lips to create depth. Gradual shading will make his features appear soft and serene, enhancing the overall look of the drawing.


2 thoughts on “10 Easy Steps to Draw Pencil Krishna Drawing”